First thing you need is a tamagoyaki pan. 100 Yen shops will have them readily available. I picked this guy up from Daiso across the street. 100 Yen for a pan is amazingly cheap, but you do kind of get what you pay for.
 Above is a nonstick pan, but it started to stick towards the end of my effort. This of course made the last few layers a little messy, but I dealt with that decently enough I think.
I did a little research on the recipe and technique and came across these two websites:
http://justbento.com/handbook/recipe-collection-mains/1-egg-tamagoyaki-japanese-omelette
http://lunchinabox.net/2007/07/10/making-tamagoyaki-or-dashimaki-tamago-omelettes/
I ended up using the justbento recipe and tried to follow the steps from lunchinabox. The problem is that we don't have any measuring utensils at all, so I had to use regular spoons to attempt to measure out teaspoons and tablespoons. A lot of recipes call for dashi or mirin of which I had neither (this is the main reason I used the justbento recipe). So, I made a super simple tamagoyaki with just eggs, water, soy sauce, and sugar. I'll talk about some modifications to the recipe as I go along.
After following the justbento recipe, I ended up with an egg mix that looked like this:
 They say that you shouldn't mix the eggs too well or you'll end up with a more rubbery texture than is desirable. I used regular soy sauce instead of light soy sauce, and I think that made the mix a little dark. I might cut back on the soy sauce a bit next time. I thought about adding some salt, but that's probably unnecessary since I'm used regular soy sauce which is pretty salty to begin with.
First step is you take a quarter of your mix and start cooking it into a sort of scramble. If you can get it into a box shape, that's perfect. Mine ended up being a little chunky...
 I grabbed a corner of this mess to try it and decided it was a little salty so I added a bit more sugar into the mix. Once you have the center made, you just start creating layers by pouring the mix into the empty space. Coat the bottom of the pan and make sure you lift your current tamagoyaki a bit to get a layer underneath for it to adhere to. Once the layer is finished cooking, roll the tamagoyaki onto it to empty out the pan again.
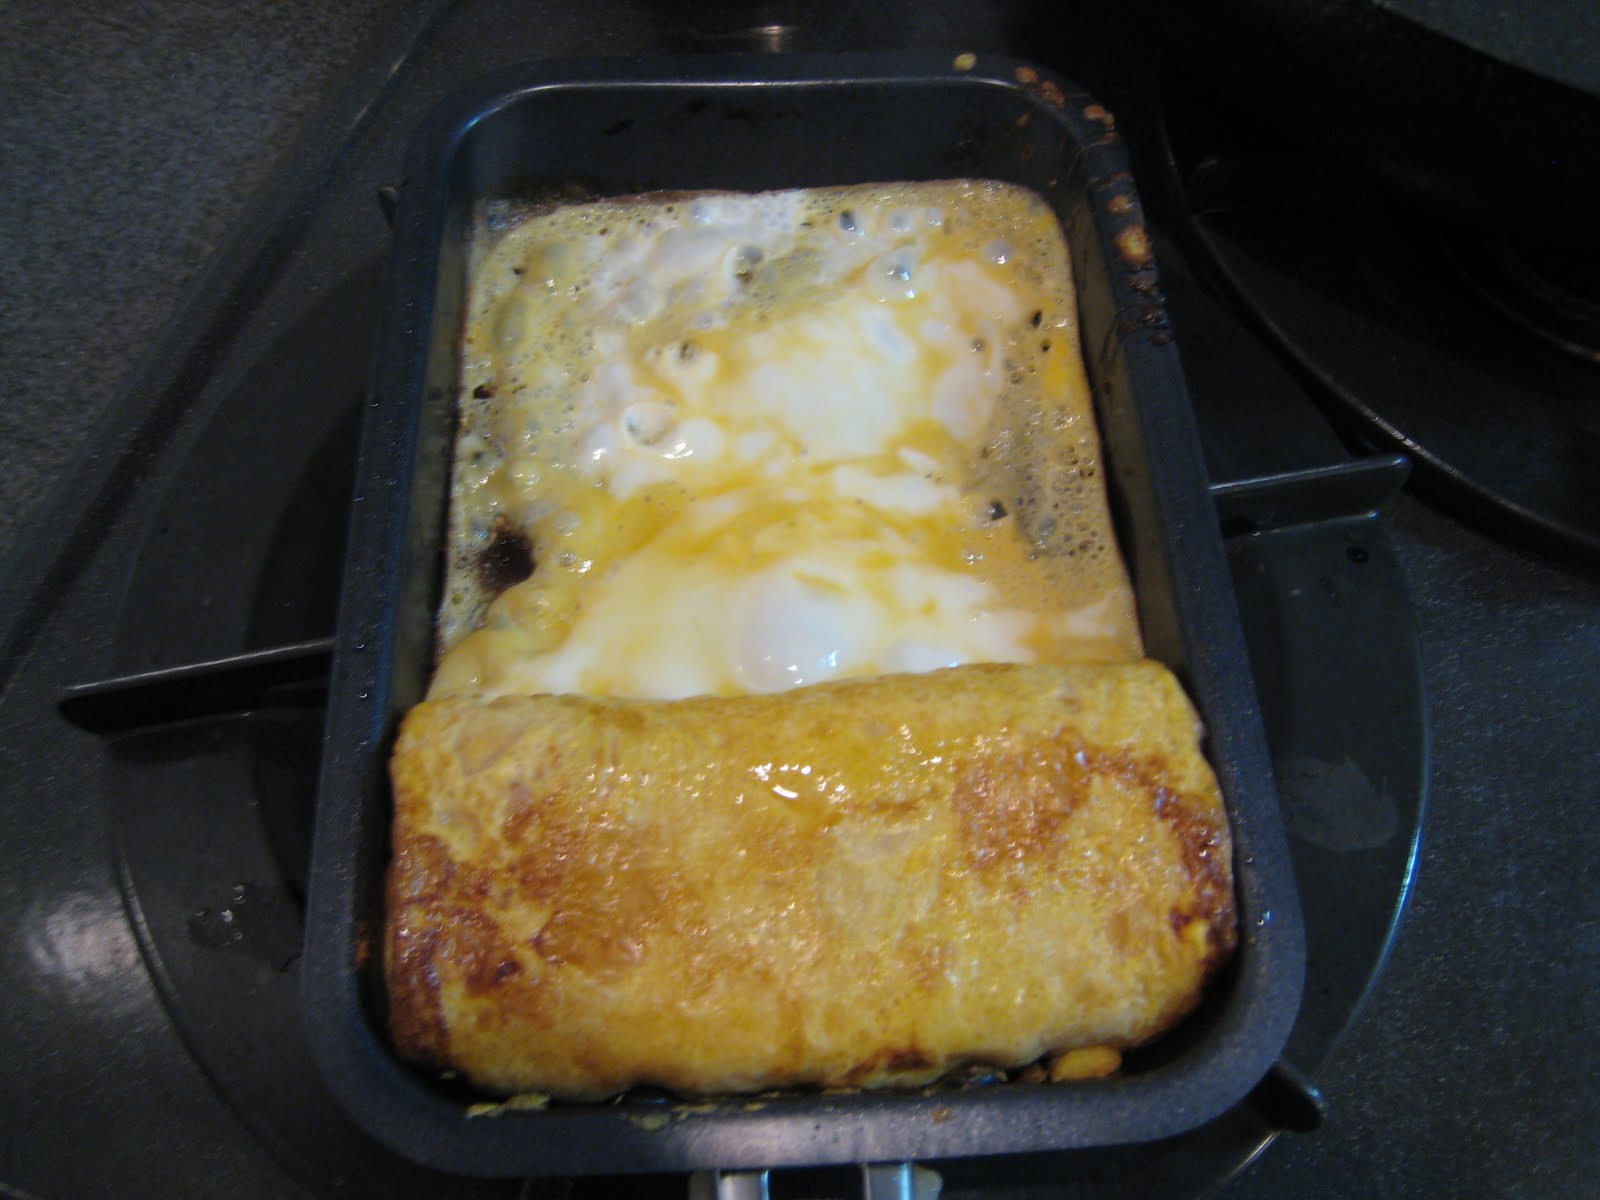 The one above is ready; it's ok if the egg is still a little runny. Add the next layer into the empty space and repeat until you run out of mix. Continually wrapping each layer around the tamagoyaki will create the roll shape you desire.
 Six or seven layers, this is what I ended up with.
 And this is what it looked like cut up. Some parts of it are obviously too brown. It's ok to brown fried eggs, but the taste of tamagoyaki is really too sweet and delicate to get any char on your eggs at all. However, I did succeed in getting that spiral shape. Like I mentioned, the pan started to stick towards the end making it very difficult not to brown the last few layers.
A couple of very important tips I learned from this trial:
1. Don't make your layers too thin. If you do, it's difficult to roll and hard to deal with altogether.
 This layer might look pretty, but it was kind of a pain. Don't worry, if your thicker layers don't cook through all the way. It'll all end up getting cooked as you keep the rolled mess in the pan.
2. Grease the pan generously. Sticking is your worst enemy in tamagoyaki. The process is time consuming and you really need to reapply oil between every single layer. Can't be helped.
3. Turn your heat very low. My stove is super strong, and I tried to keep the flame small but it still ended up too hot to handle. Using slightly thicker layers on a low flame will uniformly cook the egg to a yellow.
Tamagoyaki is a really labor intensive process. It's not really that difficult, but you need to watch the pan through every single step. Nnnn, it's kinda difficult... I only used three eggs and it took me a solid fifteen to twenty minutes of cooking time.
I made this as a surprise for V who loves tamagoyaki. If I had the time, I would practice more and make her a perfect one; alas, I hope she likes this one.
Update: She hasn't tried it yet, but we had Ichiran again. I think our ramen tastes have evolved since coming as we find Ichiran fairly light now. Pretty sure V will keep it the same, but I might make mine richer next time.
No comments:
Post a Comment